Danish Pastry Dough, easier
https://skandibaking.com/easier-danish-pastry-dough/
LINK TO PROPER DOUGH: Danish Pastry Dough (Wienerbrødsdej)
INGREDIENTS
- 2 tsp instant yeast (2.25 tsp active dry yeast, 17.5g fresh yeast)
- 150 ml warm water
- 50 grams sugar
- 2 large eggs, room temperature
- 1 tsp salt
- 400 grams all-purpose flour (plus extra for kneading and rolling out!)
- 226 grams European (high fat %) unsalted butter; chilled (for laminating the dough; we recommend at least 83% butter fat, which you can usually find either on the package or by looking up the brand on Google!)
- 1 egg for egg wash
DIRECTIONS
-
Bloom yeast in warm water with about 1 tbsp of the sugar in the recipe (we usually measure the sugar out ahead of time and sprinkle some of it into the measuring cup with the yeast and water). If you're using instant yeast, this step can be optional - if in doubt, check the package directions of the yeast you are using!
-
Let sit for 5-10 mins until frothy. If nothing has happened in that time, your yeast may be expired. You can try to add a little bit more sugar and wait a little bit longer, or you can start over with fresh/new yeast.
-
Add remaining sugar, eggs, yeast mixture, and salt in a medium sized mixing bowl.
-
Mix together well.
-
Start adding flour while stirring/mixing until fully incorporated using either your hands or a spoon.
-
Once the flour is incorporated, knead for around 5 minutes until the ingredients have come together. You can add more flour as needed while kneading - the end result of the dough will still be somewhat sticky, but it should still come together into a ball!
-
Cover with plastic wrap or a damp kitchen towel and let rise at room temperature for around one hour. In the meantime, follow the steps below to make a butter block!
-
While the dough is rising, prep your butter block for lamination. Make sure that you are using a high fat percentage European style butter (aim for at least 83% butter fat) - butter with too much water content will be difficult to work with and may result in butter leakage! We leave the butter out at room temperature for around 10 minutes so that it's a little easier to work with.
-
Start by placing your measured out butter on a long piece piece of plastic wrap; then place another piece over the top (you can also use parchment paper!) and hit (or just press down) with a rolling pin along the length of the sticks of butter to slightly soften it.
-
Then roll out the butter so that it forms a thin rectangle about 12 inches in length.
-
Remove the top layer of plastic wrap. Fold the bottom third of the butter over the middle third.
-
Then, fold the top third down over the bottom (that you just folded up).
-
This process basically helps to eliminate any gaps in the butter and make it easier and more pliable to work with; plus, it's practice for lamination! Turn the butter block 90 degrees and place it back down on the plastic wrap.
-
Add the plastic wrap back on top of the butter, and repeat this rolling and folding process for the butter; depending on the consistency of your butter, you may have to repeat an additional time. The butter should be able to fold without breaking - that's when it's ready for lamination.
-
Shape the butter into a square about 6 inches by 6 inches. We usually just do this by pressing the sides/edges with our hands, then rolling over the top with the rolling pin to make it even. Keep it wrapped in plastic. If it's getting too soft, pop it into the fridge for 5-10 minutes.
-
When your dough is done rising, turn out the dough onto a well floured surface and shape into a square that measures about 8 inches by 8 inches.
-
Place your butter block on top of the dough square, on a diagonal so the corners touch the mid points of the dough edges.
-
Fold in the dough corners towards the center (sort of like an envelope).
-
Pinch the edges to seal the butter block inside the dough.
-
Now you start the lamination! Turn the dough 45 degrees and flip the dough over so the seam is on the bottom. Make sure you have plenty of flour on your surface and also on the top so your rolling pin does not stick. This is very important, because any sticking could tear the dough, affecting the lamination!
-
Roll out your dough into a rectangle that is at least 16 inches in length.
-
Fold the rectangle like a letter: bottom third over the middle...
-
...then top third over the bottom, making sure to dust off any excess flour between the folds.
-
Once you've folded the dough, wrap the rectangle in plastic wrap and place in the fridge for 15-20 minutes. You just want to give the dough time to relax before your second lamination and prevent any rising of the dough, keeping the temperature of the butter consistent during the process as well.
-
Take the dough out of the fridge. Turn your dough 90 degrees from how you were rolling it out last time, so that the first fold you did is at the bottom and the top of the dough.
-
Roll out into a rectangle again that is at least 16 inches in length (closer to 20" is better!) and repeat the letter fold. Keep making sure that you have a well floured surface, and flour on the top if needed. If the dough is not rolling out easily, let it sit for 10 or so minutes and return to it. If it's still giving you trouble, you can also return it to the fridge for 10-15 minutes.
-
Once you've reached the right length, repeat the fold: bottom third over middle third...
-
...then top third over bottom third. Wrap this in plastic wrap and return to the fridge again for 15-20 minutes.
-
Complete your last lamination by doing the same thing as before: turning the dough 90 degrees from the previous fold, rolling to at least 16 inches in length and repeating the letter fold (bottom third over the middle third, then top third over the bottom.
-
Once done, put in fridge for another 15-20 minutes.
-
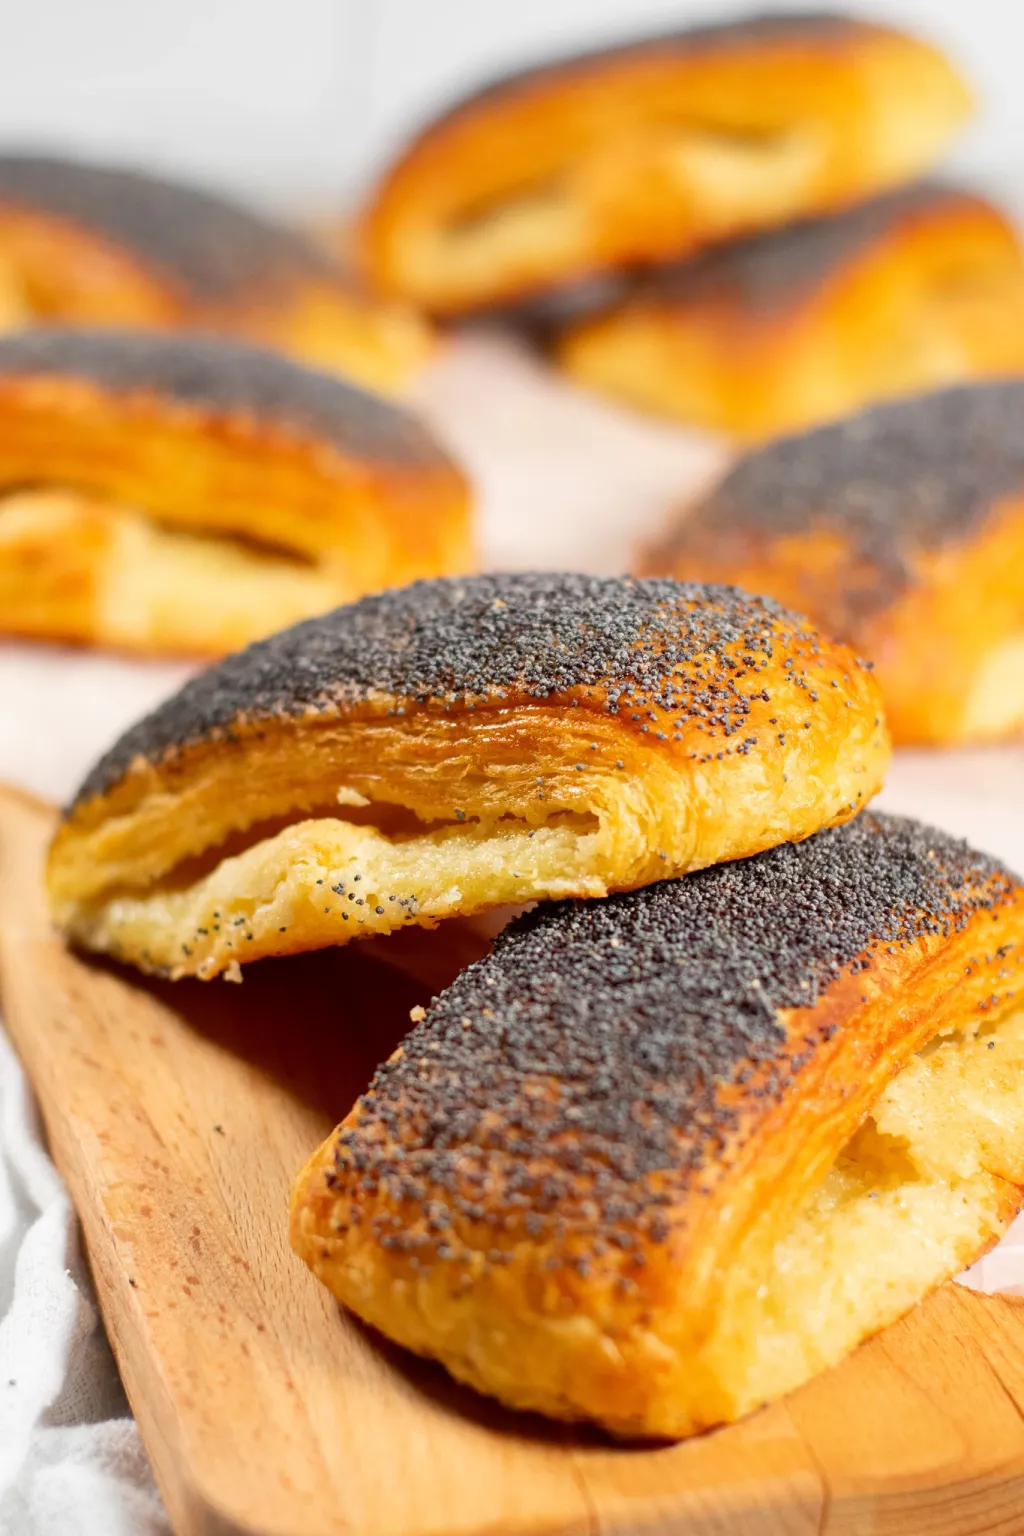
Now the dough is at the stage where you can make any of our danish pastry dough recipes! Check out our recipes for spandauer, tebirkes, frøsnapper, kanelsnegle, chokoladesnegle, and wienerbrødsstang for additional steps and fillings!